Link Tag to Spool
Linking a tag to a spool is required for many SpoolEase features. By linking a tag, the system can recognize the spool simply by scanning it and perform various operations such as automatically configuring the slot when the spool is loaded into the AMS or placing it on the scale to update its weight, etc.
For accurate weight tracking, it’s important to link the tag and weigh the spool at its full (initial) weight before first use.
Linking Steps
-
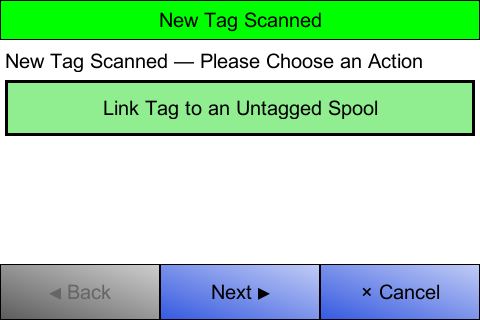
Scan the tag with SpoolEase.
A linking screen will appear.
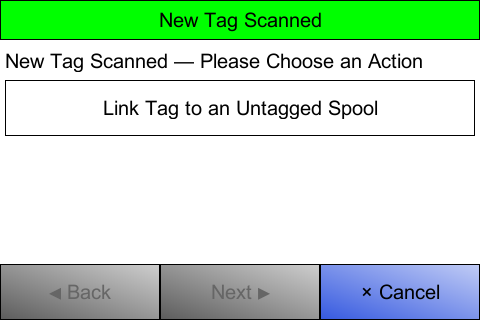
If you recently added a spool to the inventory, it will be shown for quick selection. Choose the desired operation and press Next.
-
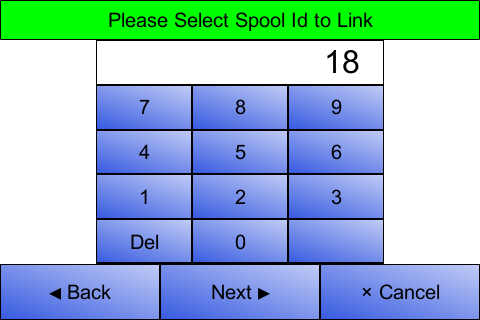
Enter the spool inventory ID.
Press Next. If the ID is invalid (already tagged or not in the inventory), an error will be shown and you won’t proceed.
-
Verify the spool details.
The selected spool’s information will be displayed. Confirm it’s correct, then press Link Tag.
-
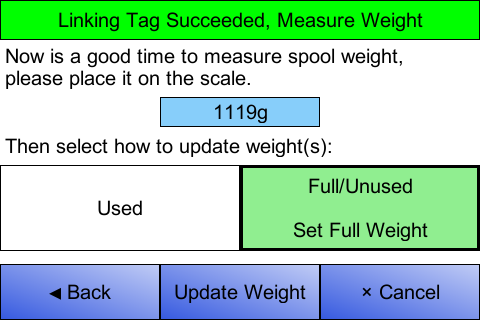
(Optional) Weigh the spool.
If you have SpoolEase Scale, you’ll be prompted to measure the spool’s weight. This is especially important for unused spools to capture their full weight before printing starts.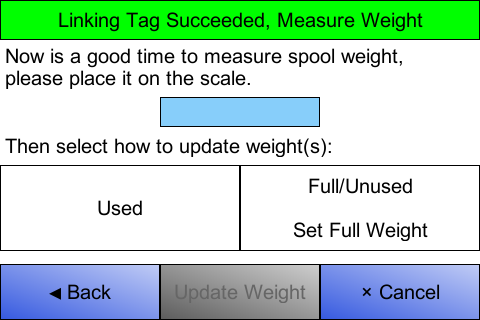
Select whether the spool is Used or Full/Unused (other options may appear if previously weighed), place the spool on the scale, and press Update Weight once the measurement appears.
-
Confirmation.
A message will briefly appear confirming the weight update. The spool will also be loaded into Staging as a scanned spool, allowing you to load it into AMS or perform other staging actions (including encoding tag data if desired).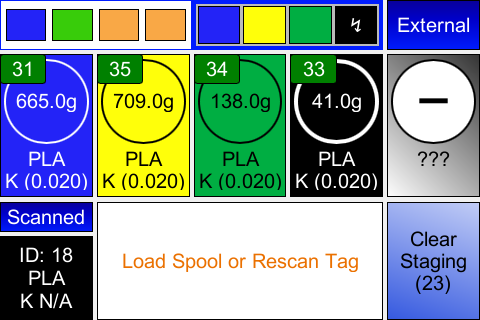
-
Next Steps
You can now use the spool with SpoolEase. Common follow-up actions include:
- Encoding tag information to enable Virtual Tag functionality. This lets you view the spool’s details on your mobile phone by scanning the tag.
- Calibrating K (pressure advance). This consumes filament, so it should be done after you weighted the spool in its full state as described above. Once calibration is complete, set the calibrated K value in the spool’s edit dialog in the inventory application.